Be Cool Radiator Installation
With all of the modifications to my XJS, it still did not run hot in traffic or on the road. I came across a BE Cool Brand aluminum radiator that is made for the XJS application. This radiator is available in standard or polished aluminum and with or without a built in transmission cooler. The radiator that was in the car was a stock one but had been replaced about 50,000 miles before. We had just completed a 800 mile trip the weekend before with no overheat or running warm problems. See the picture below of the radiator as it came out of the car.
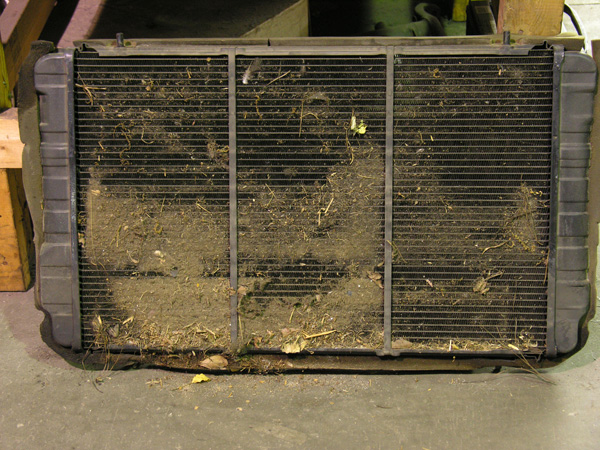
I have seen that the XJS is prone to accumulating dirt. The sad part is that this area of the radiator is not visable installed in the car as the oil cooler and A/C condensor are in front of it. I was real suprised to find this but even more suprised that the car was not overheating. This brings up another observation that if your XJS is overheating, there is a problem that needs to be corrected. My cooling system was stock and the engine modified.
Well, I had a deal on a Be Cool radiator that I could not pass up. The radiator is an all aluminum one that is thicker than the stock OEM brass radiator. It has locating pins on the top and bottom. It also has two tapped holes on the top for the air bleed system for the various years of XJS's. There is a single inlet and a single outlet. The inlet is on the top right with the outlet on the lower left. The lower outlet has a pipe out the top that is used on the XJS applicaton. BeCool sells an adaptor to go from the inlet size of the radiator to two 1.25" hoses for the V12. They also have available a 90 degree aluminum elbow for the left side if you are using a single hose across the top from left to right side.
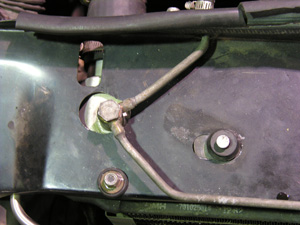
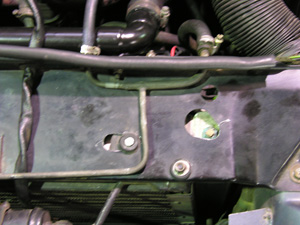
Upon installing the radiator, I found that the lower pins were not both in the correct position and ended up having to cut off the right side one. The radiator is held in place by the fan shroud and A/C condensor so not much chance of moving around. The upper pins did not fit either. I ended up extending the holes for the rubber grommets so as to utilize the locating pins. I also had to extend the holes for the air bleed system. See the two pictures below.
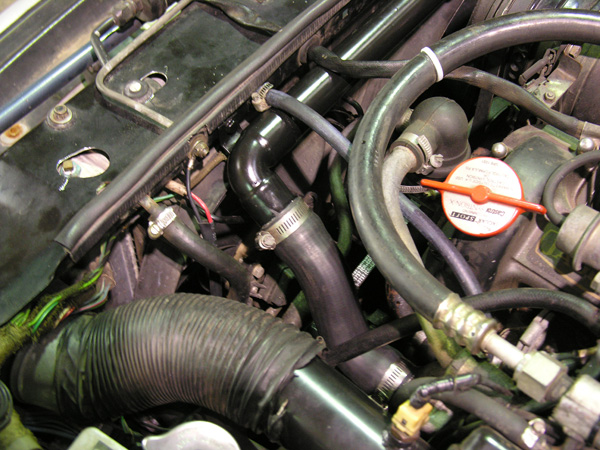
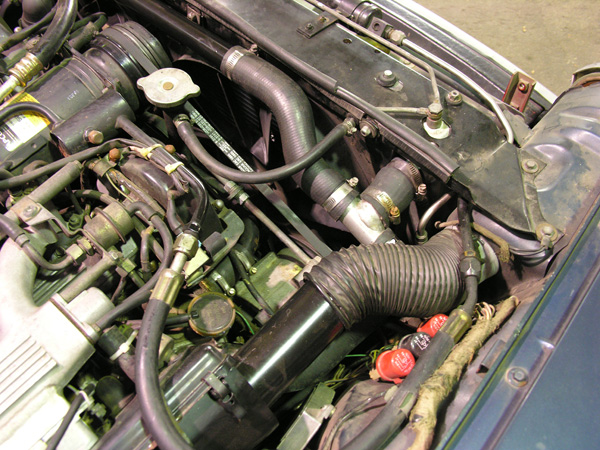
The next thing to do was to plumb up the piping system to connect both sides of the engine outlets to the single adaptor on the right side of the radiator. The car the radiator came out of had a flex hose draped across the top of the engine compartment. It did not appear to have been professionally done to say the least. I ended up going to the hardware store and getting 3 feet of hard copper pipe 1.25" diameter. I also got a 90 degree fitting for the left side. After fitting things in place, I fabricated two mounting brackets that utilized existing bolts. I ended up brazing all of the parts together. Lead solder would have been more than adequate but I tend to overdo things. On the ends of the pipe where the hoses go, I wrapped a steel welding wire around once and brazed it in place. This gives a lip so the hose would not slide off.
This Radiator is available on the shelf at Summit Racing. Part numbers are BCI-62082 with transmission cooler, BCI-60082 without cooler, BCI-61082 for polished without cooler, and BCI-63082 for Polished with cooler. Check with Summit for the latest information and prices or go directly to Be Cool Radiators Web site.